File Upload
Jan supports two ways to work with files — attaching them to a single message in chat, or uploading them to a Project so they are available as context across all conversations in that project.
Project Files
Upload documents to a Project and Jan will chunk and index them for retrieval across every conversation in that project.
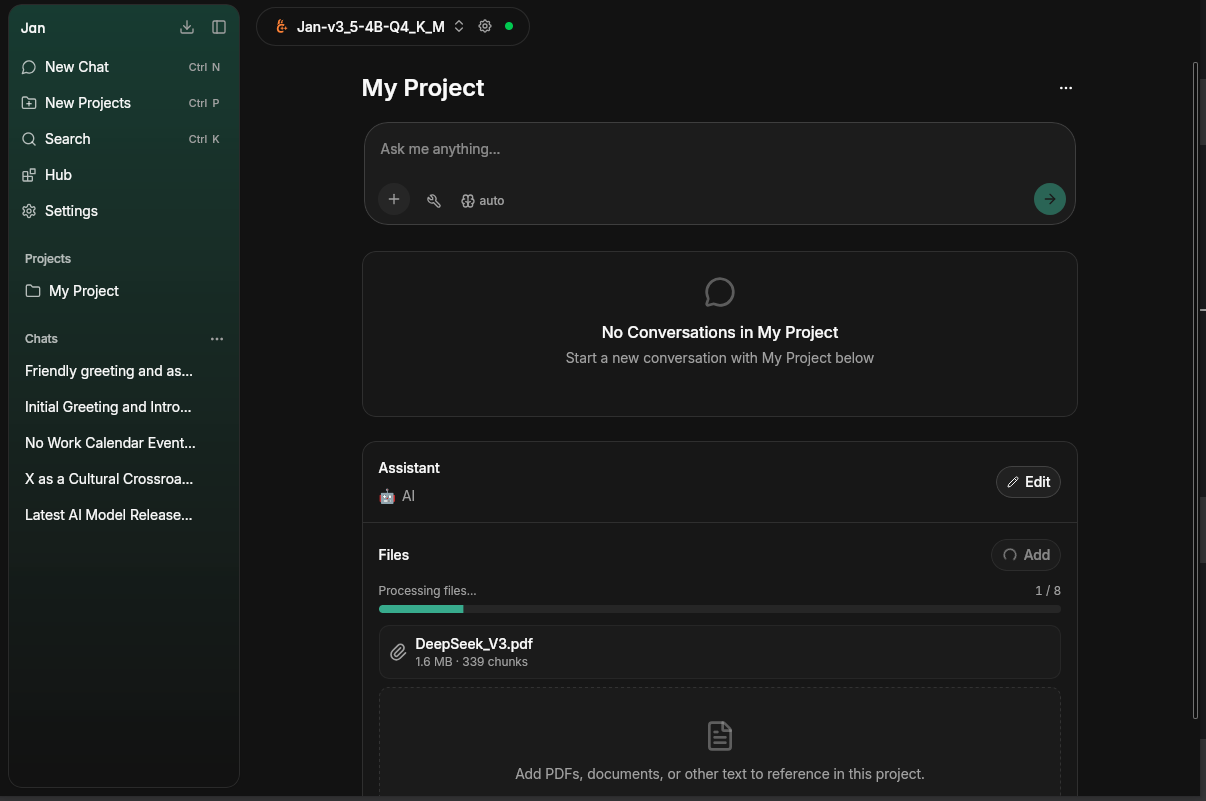
- Open a Project from the left sidebar
- Click Add in the Files panel on the right
- Select your file — a progress bar shows chunking progress (e.g. 1/5 pages processed)
- Once complete, the file appears with its size and chunk count and is available as context in all project conversations
Supported formats include PDFs, Markdown, Office documents (DOCX, XLSX, PPTX), code files, and more.
Chat Attachments
Attach images, audio, or documents directly to a single message in any chat.
- Click the + button at the bottom left of the chat input
- Choose Add Images, Add Audio, or Add documents or files
- Select your file — a progress bar will appear while it uploads
- Type your question and send
You can also drag and drop files onto the chat input or paste images from your clipboard.
Vision Model Required for Images
The Add Images option only appears when the active model has the vision capability. If your current model isn't vision-capable, the option is hidden — switch to a vision model (for example Jan-v2-VL, available in the Hub) to enable image attachments.
Audio Requires an Audio-Capable Model
The Add Audio option only appears when the active model supports audio input. Supported formats are WAV and MP3. Audio files show a preview chip with the filename and duration before sending.
Privacy
All files are processed locally on your machine. When using a local model, your files never leave your device. If you use a cloud provider (e.g. OpenAI, Anthropic), files are sent to that provider's API as part of the request.